


I’ll just come out and say it: As a professional writer, editor and content manager, I can’t work — no, I can’t live — without Google Docs.
If you too are a fan, you get it. If not, here’s the quick elevator pitch: Google Docs makes writing, sharing and collaborating easy. It’s also free, and you can access your work anywhere (even without internet — see more on that below).
Even more, Google Docs has some nifty tricks up its sleeve that’ll make your life as a writer easier.
10 Google Docs hacks every writer needs to know
Want to elevate your Google Docs experience? Try these 10 hacks.
1. Tap into your revision history
Ever write something, delete it, then feel your heart sink five minutes later because, Darn it, that actually would have been perfect? Yeah, me too. All the time. But that’s the beauty of Google Docs’ revision history. It keeps a record of (almost) everything you write.
To tap into your revision history, all you have to do is go to: File → Version history → See version history.
Expand detailed versions, and you’ll find minute-by-minute versions of your document. Click through to see your changes and find that pesky paragraph you want to copy and paste back into your story.
If you’re super organized, you can also name versions of your document (e.g. Draft I, Draft II, Edited I, Edited II, etc.) so you can keep better track of them.
2. Work offline
If you’re traveling, Google Docs makes it easy to work offline, meaning you can work in your doc without being connected to the internet. To do this, go to your settings in Google Drive, and select “work offline.”
This has been a lifesaver when I’m stuck in an airport with bad Wi-Fi, on a plane where I have to pay for bad Wi-Fi or even on a road trip. You can also download the Google Docs app to become even more mobile.
Pro tip: If you’re struggling to stay focused and find yourself compulsively clicking through Facebook, checking emails, online shopping and doing everything except writing (me, way too often), then consider turning off your Wi-Fi and working offline. Even if you’re home and have perfectly good internet access, this will allow you to pseudo-unplug and limit your distractions.
3. Self-edit with suggested changes and comments
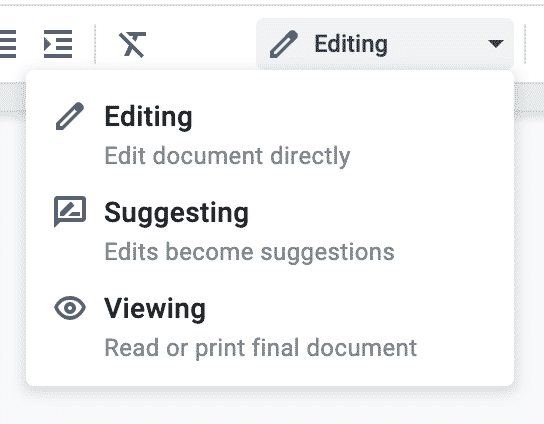
Sure, suggested changes (also known as track changes in Google Docs) are great for editors working with writers, but have you ever used these tools for self-editing?
Suggested changes can be particularly helpful when you’re working on a story’s organization. You can move paragraphs around here and there in suggestion mode to see what it “feels” like. If you like it, accept changes!
To turn on suggested changes, select the pencil in the top right corner of your doc, and turn on suggesting mode. When you’re done making suggested changes, go back to editing mode.
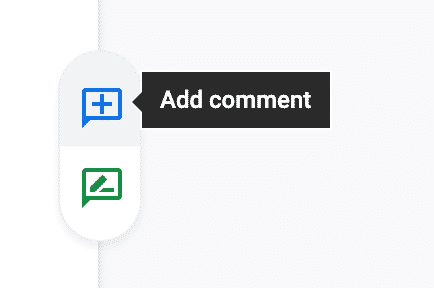
Leaving comments can also be handy. If you’re at a loss for words or need to leave a reminder to fact-check a section later on, add a comment for yourself. It’s basically a virtual sticky note. There are a few ways to do this:
- Insert → Comment
- Command+Option+M
- Highlight your sentence and click the blue comment box on the right side of your document. (You can switch to suggestion mode this way, too!)
4. Use Google Docs Add-Ons
Did you know Google Docs has add-ons? Think of these like a Chrome extension — they’re added features that’ll level up your Google Doc.
To explore Google Docs add-ons, select Add-ons → Get add-ons. Or, if you’re not in Google Docs right now, just head to the Google Workspace Marketplace.
There are dozens of add-on options, but here are a few that may be particularly helpful for writers:
- Easy Accents: This add-on makes it easy to insert accent marks into your document without searching through that pesky special characters box or copying and pasting from Google.
- ProWritingAid Grammar and Writing Coach: This highly rated add-on will point out spelling and style inconsistencies, help you eliminate cliches and redundancies, check your spelling and grammar, spot overused words, and more. (Note: The free version runs on the first 500 words of your doc. You’ll have to buy the premium version for more, but the reviews make it sound worth it. Here’s our ProWritingAid review.)
- Doc Tools: Consider this your Google Docs toolbox. You get 13 straightforward tools, including easy font size change, highlight, eraser and alphabetical sorting. (Google Docs offers these features, but they’re a bit tricky to find. These are just an added toolbar!)
5. Compare documents
If you have two pieces of text you’d like to compare, Google Docs makes this easy. Select Tools → Compare Documents. You’ll select another Google Doc to compare your current one with.
For writers, and especially freelancers, this may be particularly helpful to see what changes an editor has made to your published work. What you can do is copy and paste the published text into a Google Doc then compare it with your submitted draft.
This simple hack can help you better understand — and meet! — your editor’s expectations.
6. Cite sources
If you’re in academia, you likely have to cite sources. (As an English major, this was my least favorite thing ever.) There are online tools out there that’ll help you with formatting — or you can just use Google Docs’ free built-in citations tool.
Head to Tools → Citations.
In the sidebar, select APA, MLA or Chicago style. Then, enter the material’s information and save the source. Find where in your text you need to add the citation, and select “Cite.” At the bottom of the citations sidebar, click “Insert bibliography.” Google Docs will keep this updated as you add more citations.
Simple!
7. Let Google type for you
Tired of typing? Or maybe you just want to dictate some general brainstorming ideas into a doc. Give your fingers a break with Google’s voice typing feature. (Tools → Voice typing.)
This opens a little speaker. Just click and start talking. Say “period” when you want to end a sentence or “new line” when you want to insert a paragraph break. Of course, it doesn’t always translate perfectly, but it’s a good tool to have on hand!
8. Keep organized with a table of contents
If you’re working on a big project, making a table of contents at the top of your document can be life-saving. This will make it easy to jump from section to section and also get a clear view of the content’s structure.
If you’re using various headings and subheadings to break up your document (e.g. Heading 2, Heading 3), all you have to do is insert a table of contents (Insert → Table of Contents). Google Docs will automatically generate a table of contents for you, with each section of your document linked.
You can then add more sections and customize it.
9. Easily track your word count
As a writer, word count is often important. Maybe you’re trying to hit a specific count for an assignment or maybe you just need to prove to yourself that you’re actually making progress.
Ever wondered how to see your word count in Google Docs without navigating to Tools → Word Count each time you want an update?
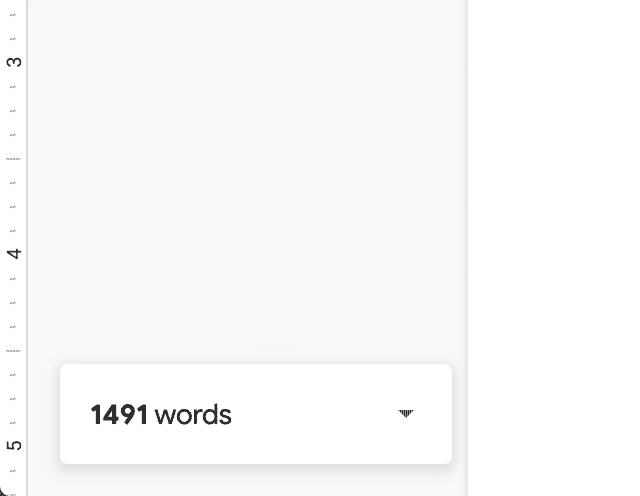
There’s an easy hack that allows you to see your word count while you’re typing. When you’re viewing word count, simply select the box that says “Display word count while typing.”
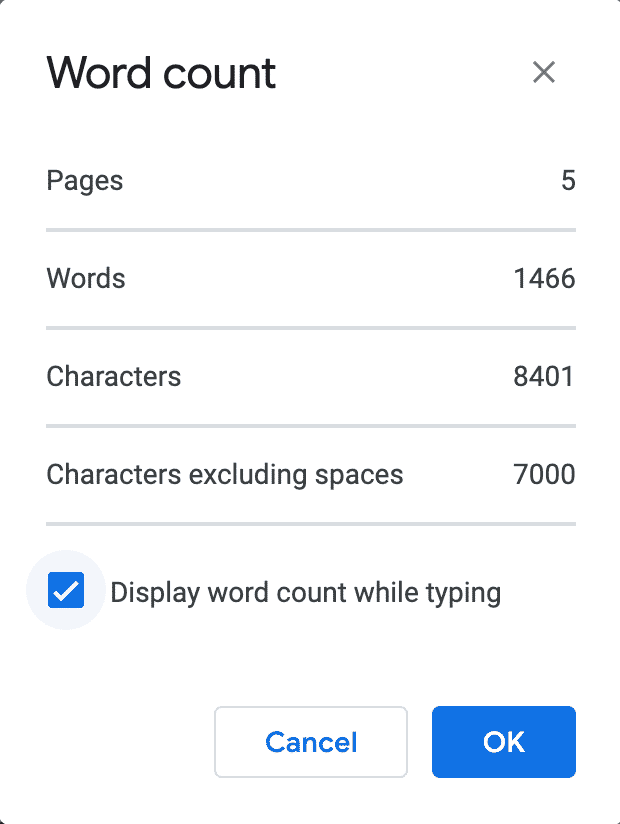
This opens a little tab at the bottom of your document that keeps a running update going. You can even highlight sentences or sections to see more granular word counts.
10. Open a new doc and start writing!
Here’s one final, life-changing tip before I send you on your way: To open a new, blank document, rather than going to your Google Drive and creating a new document, simply type docs.new into your address bar, and a new Google Doc will automatically load.
Voila!
This post contains affiliate links. That means if you purchase through our links, you’re supporting The Write Life — and we thank you for that!
Photo by Armin Rimoldi from Pexels